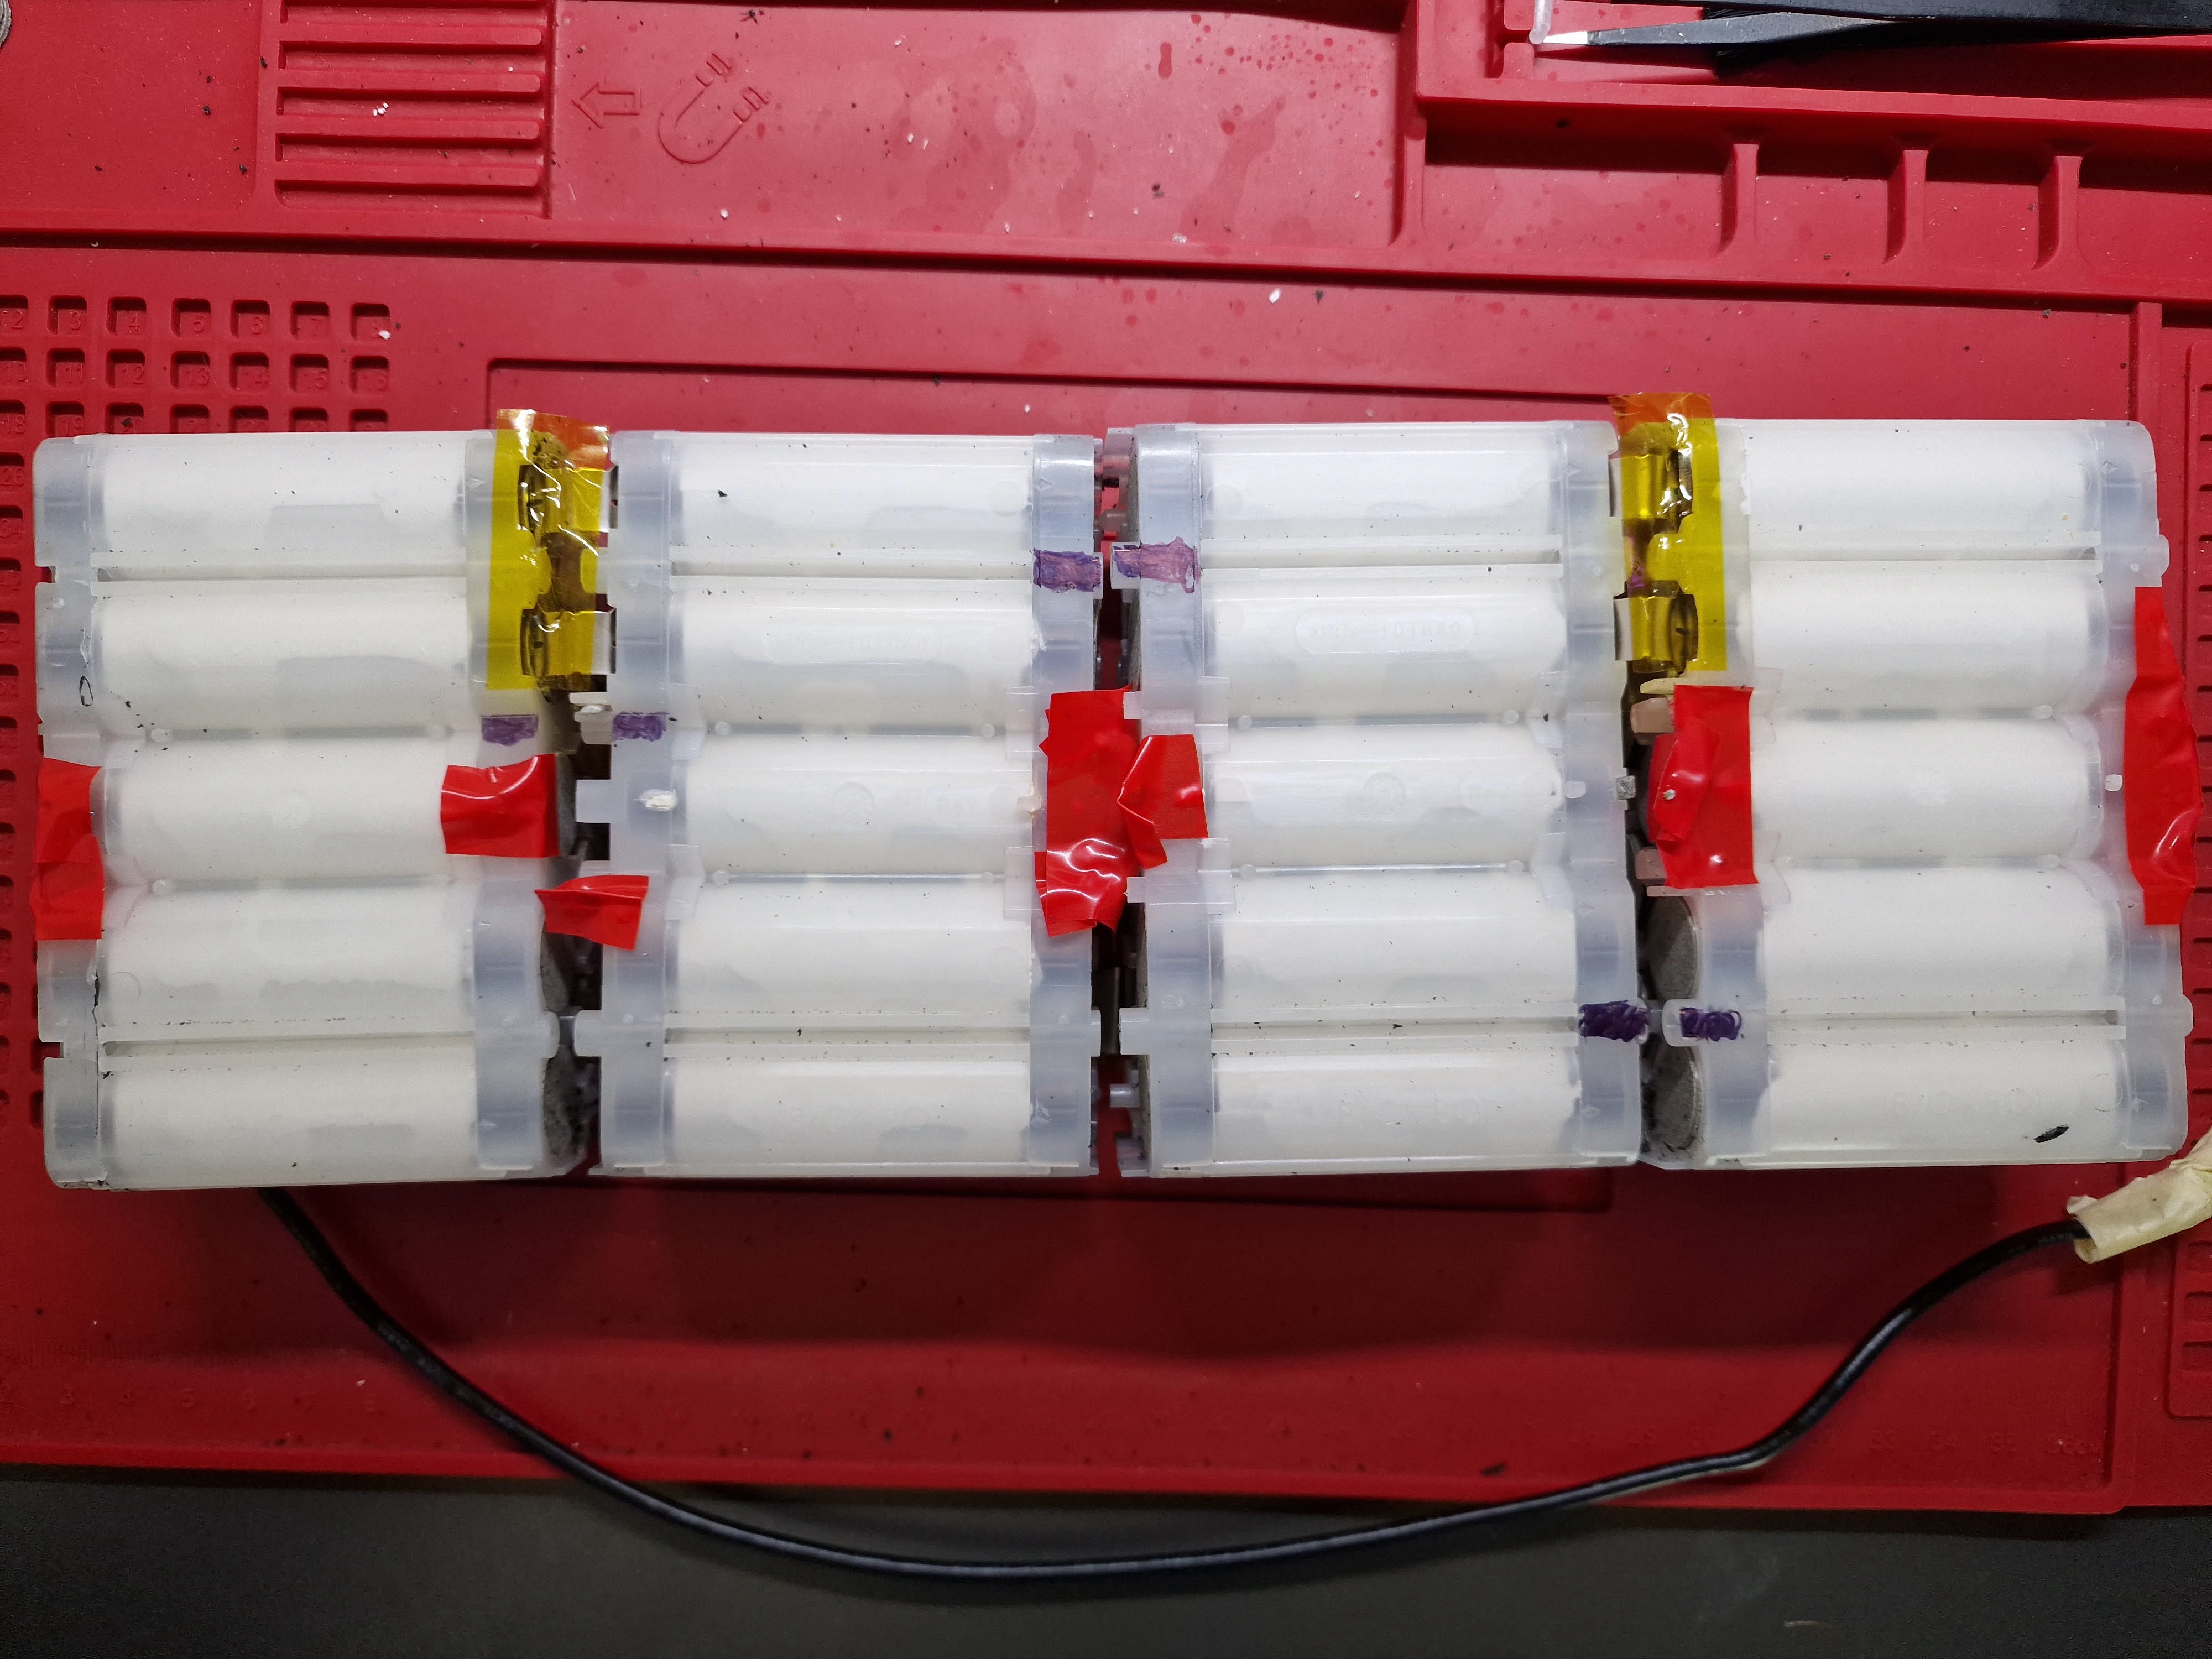
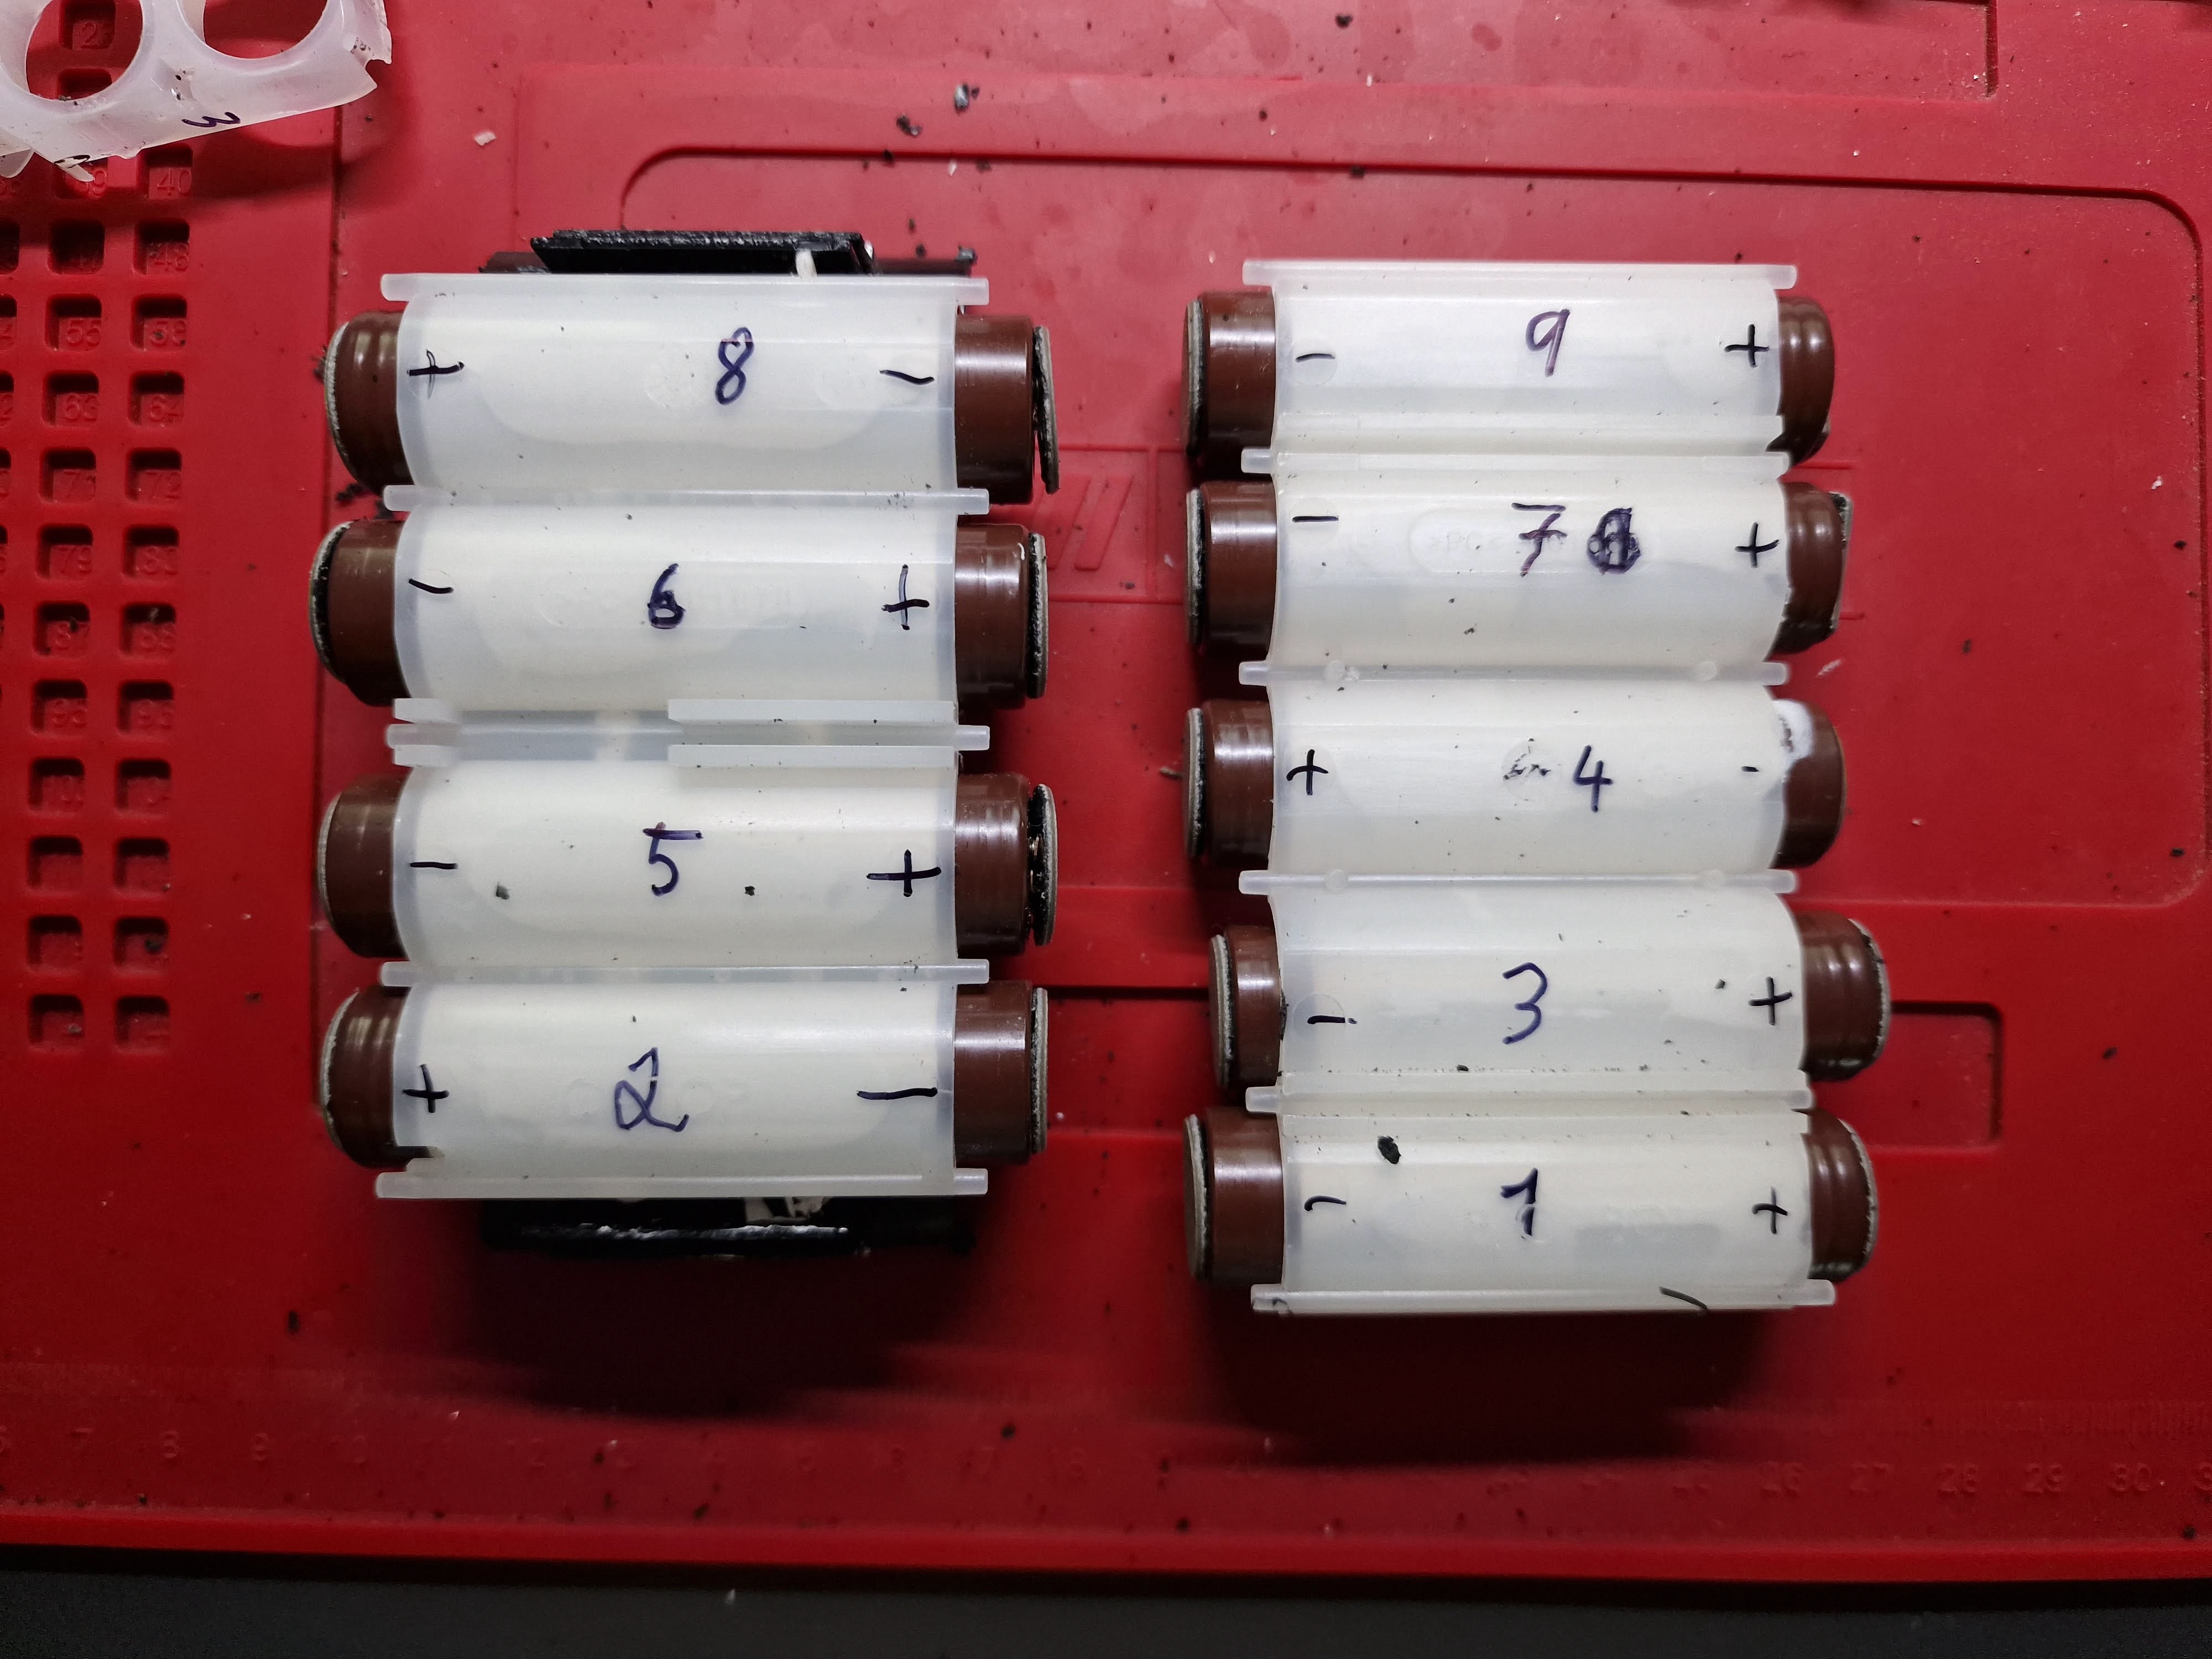
A new day is here and a new challenge is in front of us. We were able to get to all four blocks of batteries. It is time to get the cells out! First, before stripping the nickel plates off to separate the blocks, I put the battery back together and made myself some marks, so it is easier to put those blocks back together later on. I decided to mark them with numbers on the side and to be sure with lines at the top.


Now was the time for the scissors! I separated all blocks. Now is a great time to mark the batteries. I started to number them from the end, the negative side. Maybe a little confusing, but somehow I wanted to start from the left side. I also tried to mark at least somehow where should be yellow ribbon nickel-metal plate outputs.
Now was the time to start ripping off the nickel plate connections. Be careful there. You definitely do not want to short some batteries! I was able to rip them off with small pliers, usually pulling them to the side, so the cell does not get damaged much.
Once done, the side covers should just fall off. Of course, batteries are glued inside again. You will need to apply just a small amount of force to get them off. The case can be split into three parts. There is one black metal part in the middle, and two white covers on both sides.


I started pulling batteries out one by one, marking each one with the correct number, and also measuring its voltage, and writing it down. This may be a critical part, as I heard that BMS will lock itself when the cell has a different voltage. So I am planning to charge/discharge every cell I will put back into the original voltage.
As I am going to measure the capacity of every cell, which will probably take me a few weeks taking in mind I have only one charge and 36 cells, I have plenty of time to nicely clean the casing from any residue left.

Next time I will present some numbers of voltage and capacity that those original cells had. See you next time.

